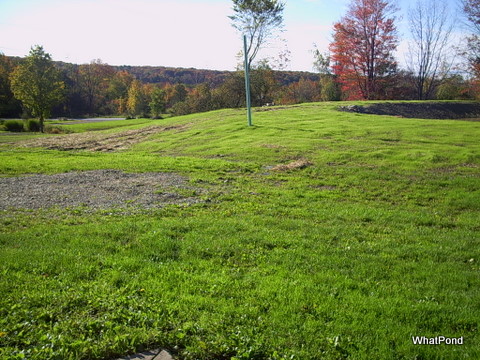
Wow we have covered a lot of ground and moved it too. We left off finishing the pond with the dozer pushing out the shape and depth of the pond. Building up the dam along with getting the sides up to grade.
Remember the minimum width around the pond at grade should be 8′, wider is better. The reason is to be able to drive around the pond in your truck or mowing with a compact tractor. This way you can drive around to do inspections or just to see what is happening around the perimeter.
Being 8′ wide then moving away from the pond at a 3:1 slope will add enough fill to help contain the water pressure in the pond. Most important is the Dam, this is all new fill that must be compacted as tight as can be. This will make or break the pond.
Let’s say we are done with building the dam, the surrounding area is up to grade and the is no fill left over. Cool. If there is fill left over then extend the dam, widen the top and go from 3:1 to 4:1, along with the sides. Not having enough fill means making the pond bigger to get enough fill to finish all the grade work.
Remember all the topsoil pushed out of the way in the beginning? It’s time to push it back. You really only need 2″-4″in thickness to be spread around the area to grow grass. Using the dozer to push the topsoil back is a great way to do it, if it is too long of a push, scoop it up with the backhoe and dump piles around to be leveled out with the dozer. Do your best not to get too much sod taken back to the pond and if you do then back fill to 6-8″ thick. What happens is the clumps will pack down but not as much as just plain topsoil. This will leave high and low spots, and a royal pain to rake out. Once there is enough topsoil spread out you can use a railroad tie, bed springs or even a chain link fence to help smooth out the surface.
Spread the seed and if available spread hay over top of the seed. This will help to hold the seed in place, from wind and rain.
Once the seed and hay is in place take a lawn roller and flatten out the hay which in turn will push the grass seed into the loose ground. A four wheeler can do the same but will take a little longer. Hopefully the timing is good it rain’s that night to kick start the growing process.
Starting seeding the dam. This is a 3 or 4;1 slope. When it rains it will erode as the rain runs done the dam. It is most important to start at the dam. The second important area is the watershed to keep the rain from washing silt into the pond. If the watershed was finished at an earlier date it should have been seeded then, if not do it now. Then seed in the the remaining area and watch it grow.
If you have found your way to the blog and do not have the WhatPond Definitive Guide to ponds and pond building be sure to get it at Building a Farm Pond. If you have the Guide, you will receive updates tot he guide in your email.
Have a GREAT day!
Feel free to leave a comment!

